Street food
Dabeli masala
Makes : 12-15
Time taken:1 hour
Dabeli masala is a great street food of india. It originated from the Kutch region. Mandvi, the Paris of Kachch-Gujrath , is famous for its Dabeli masala. The visit to Mandvi is incomplete without the tasting of Dabeli.
I tasted this in Bombay and then tried it out a couple of times at my son’s house and all relished at home. I thought of sharing it with my fellow bloggers and here goes my version of the recipe….
What you need to have for the filling:
1. Cooked & mashed potatoes – 3 Cups
2. Chopped onions – 2 Cups
3. Chopped tomatoes – 1 cup
4. Turmeric powder – 1/4 Teaspoon
5. Dabeli masala powder – 2 Teaspoon
6. Chopped Cilantro – 2 Tablespoon(for garnishing)
7. alaemon juice – 1/2 Teaspoon
8. Salt – To taste
9. Cooking oil – 2 Teaspoons Chopped Potatoes
 Ingredients of Seasoning & garnishing
What you do with what you have:
1. Wash, peal and chop potato into bite size pieces and cook it in the cooker without adding water to the veggie. On cooling smash it and keep it aside. Cooked and smashed potatoes
2. Place a skillet with 2 teaspoons of cooking oil in it on medium flame. On heating, add chopped onions and a little salt to it and fry till transparent. Chopped onions being fried
3. When done, add chopped tomatoes to it and fry till mushy adding turmeric powder to it. Chopped tomatoes being added to be fried
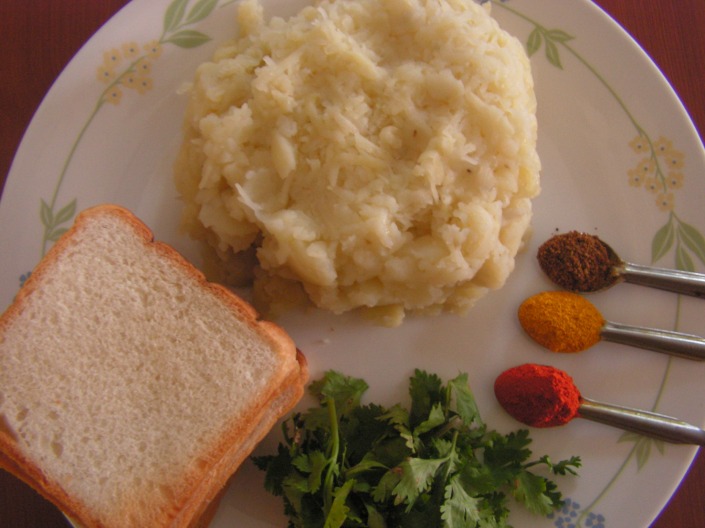
4. When done add dabeli masala to it and give a strong stir on lowering the flame and also a little salt to it and keep the mixture stiring till oil seperates from it.
 Dabeli masala being added to the fried onion and tomato mix
5. When done, add cooked and mashed potatoes from step-1 to it ans mix well and keep stiring, finally add chopped cilantro and lemon juice. Cooked & mashed potatoes being added
 Cilantro being added along with lemon juice
6. Transfer it to a bowl and garnish with cilantro, onions, spicy peanuts and grated coconut.
 Alu masala being garnihed with chopped onions and cilantro
In the mean time we make the spicy peanuts ready .
Ingredients of Spicy peanuts:
1. Pealed & roasted peanuts – 1/2 Cup
2. Chili powder – 1/2 Teaspoon (depending upon the spiciness)
3. Asafoetida powder – 1/4 Teaspoon
4. Salt – As needed
5. Cooking oil – 1/2-1 Teaspoon Ingredients of spicy peanuts
1. Place a spatula with a little oil in it. When heated add peanuts , chili powder, asafoetida powder and salt. Give a stir to it and since it is roasted it is done immediately.
We need chili-garlic chutney as well to apply to the pav-bread slice. The recipe is here.
Ingredients of Chili-Garlic chutney:
1. Garlic cloves – 6-8
2. Red chili ( bydgi chili – 4-5)
3. Lemon juice – 2 Tablespoons
4. Salt – as needed Ingredients of chili-garlic chutney
1. Grind all the above ingredients in the mixer adding water in steps to a fine consistency. Store it in the refrigerator and stays afresh for more than a month. Chili-garlic chutney
How to proceed to arrange and serve:
1. All you need is 15 Burger buns. Burger Buns
2. Slice each bun and fry with a little butter on both the sides on a thick roti skillet. Bun being sliced and fried with butter
3. Flip and fry the other side and repeat the same process with the remaining buns. Bun being flipped and fried on the reverse
4. All the other ingredients needed is starting clockwise from spicy peanuts, green chutney, chili-garlic chutney, sweet chutney, chopped onion and cilantro, sev, pomagranate seeds(not there) and finally alu masala in the centre is arranged here with. One can find both green and sweet chutney recipes in my “Ragda patties” recipe on this blog .  stuffing needed to serve dabeli
5. Open fried slices and apply green chutney on one side and the other two chutney on the other side of the burger or how ever needed. Variety of Chutney being applied to both the slices
6. Spread alu masala on the lower portion of the bun. Alu masala being applied on one side of the burger slice
7. Also spread sev and spicy peanuts on it. Spicy peanuts & sev being spread on the alu masala
8. spread chopped onions and cilantro on it. Chopped onions and cilantro being spread on the slice
9. Sandwitch it with the top half of the burger buns and spread some sev and pomegranate seeds as well and serve. Yummmmmmmmmmm!!!!!!!!!! Ready to serve Dabeli with all garnishing and filling
Makes :12-15 of the above size
Time taken:1 hour
Good to remember: 1. Potato should be cooked without adding water.
2. Potato filling should be mashed well so that it is easy to spread over.
3. Both the green chutney and sweet chutney recipe is on this blog in the recipe “Ragda patties”..
4. I have not added fresh grated coconut since i just wanted to avoid but of course is must.
5. One can even make use of ready made sweet and green chutney if available.
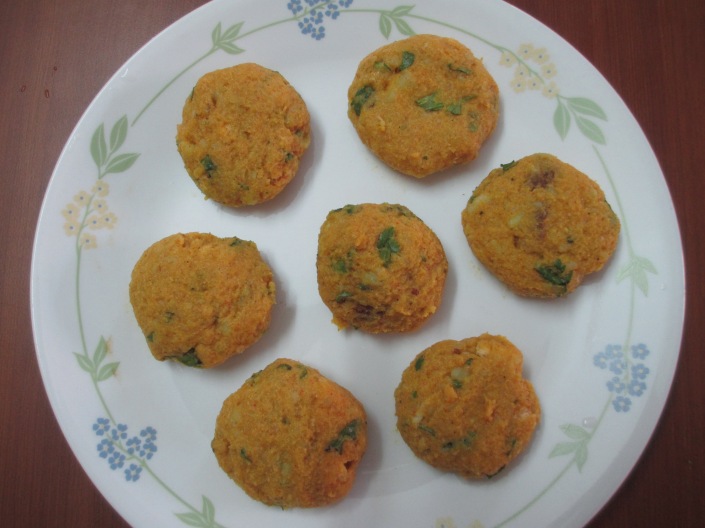
Sprouted Moong bean cutlet
Ready to serve Green gram cutlet
Makes – 20 of the above size
Time taken – 45 minutes(other than soaking & sprouting)
Sprouted grains play a main role in daily lunch menu and i prefer to add to my tiff-in menu too. I have already put up Sprouted moong pulav, moong ghashi, Sprouted moong salad, sprouted matki masala etc and today i would like to put up this healthy cutlet to add to the long list of cutlets i have put up on this blog namely corn cutlet, veg cutlet, vermicelli cutlet, snake gourd cutlet etc.., Here it goes….
What you need to have:
1. Sprouted moong beans – 2 cups
2. Oats powder – 1/2 cup
3. Boiled mashed potatoes – 1/2 cup
Sprouted Moong bean & oats powder
Ingredients of Seasoning & Garnishing:
1. Green chili – 2 (optional)
2. Chopped onions – /2 cup
3. Red chili powder – 1 Teaspoon
4. Turmeric powder – 1 Teaspoon
5. Dhania-jeera powder – 1 Teaspoon
6. Pav bhaji masala powder – 1 Teaspoon
7. Grated ginger – 1/2 Teaspoon
8. Lemon juice – 1 Teaspoon
9. Chopped cilantro – A handful
10. Mint leaves – 3-4(optional)
11. Sugar – 2 pinches(optional)
12. Salt – As needed
13. Rusk powder – As needed ( to dust the cutlets)
14. Cooking oil – 2 Teaspoon for seasoning & little more for frying cutlets
Ingredients of Garnishing & Seasoning
What you do with what you have:
1. Soak green gram(Moong) in water for about 6-8 hours. Drain water and tie it in a dry cloth and keep it aside for another 6-8 hours. It will have been sprouted if you open it up. Grind it in the mixy to a coarse consistency without adding water Grind green gram being to a coarse consistency
2. Cook potato in the cooker as usual for 20 minutes till soft. When cooled peal and mash it and keep it aside. Wash and peal onions and chop it fine. Wash and chop cilantro, mint leaves and also grate green chili, ginger and keep it aside.
3. In the mean time dry roast on low flame till you get a pleasant aroma. On cooling, powder it in the mixer.
4. Place a wide skillet with 2 teaspoons of cooking oil in it on medium flame. When heated add chopped onions to it and required quantity of salt to it and fry till transparent. When done add chopped green chili and grated ginger to it and stir well.
Grated ginger & green chili being added to fried onions
5. Add all powders in row and give a strong stir with a spatula to get a pleasant aroma.
All powders added in a row
6. On cooling transfer the fried onion mix, grind green gram, oats powder, chopped cilantro, mint leaves, mashed potato,lemon juice into a wide bowl.
All ingredients in a bowl
7.Mix and make either round or oval shaped cutlets of required size and keep it aside.
Cutlets being shaped
8. Dust each of them in rusk powder and is as shown in the image below. Cutlets being dusted in rusk powder
9. Place a skillet on medium flame and on heating splash a little oil on it. On heating place the dusted cutlets on it and fry it. Cutlets being shallow fried
10. Flip and fry on the reverse. When done enjoy with tomato sauce or mint chutney. Really crispy and Yummmmmmmmmmm!!!!!
Cutlets being flipped to fry on the reverse
Ready to serve green gram cutlet
Makes -20 of the above size
Time taken : 45 minutes(other than sprouting)
Good to remember:
1. Use quality Moong bean to sprout properly.
2. One can use any sprouted grain for this dish. I have also used oats from health point of view but one can surely avoid if not essential.
3. One can even deep fry these cutlets but mine is always a shallow fried option.
Ragda patties
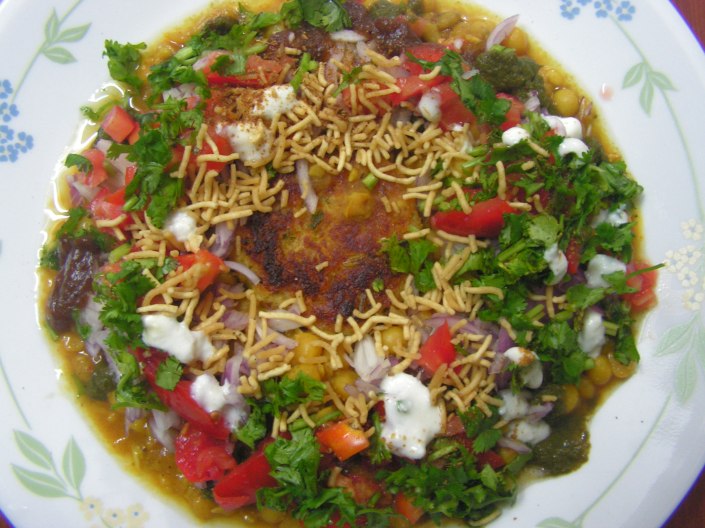
Ready to serve Ragada patties
Number of servings: 5-7
How long it takes: 1.5 hours, everything from scratch
Ragda patties is the most popular street food/chat of Bombay and other parts of North india. I wanted to put up this recipe on my blog, but because of the lengthy write up of text and also the multiple images to be clicked it took me forever to get this done.
Hot Alu tikkis are covered with piping hot Ragda, drenched with green chutney, sweet-sour chutney,sprinkled with generous quantity of Sev, garnished with chopped onions, cilantro and tomato to make the dish tastier and yummmmmmmmmm!
Ingredients of Ragda:
1. White peas – 1 cup and a tea bag (Dipping sachet to add to the peas while cooking)
2. Cumin seeds – 1/2 teaspoon
3. Green chili -2
4. Ginger garlic paste – 1 teaspoon
5. Curry leaves – 2 sprigs
6. Red chili powder – 1 teaspoon
7. Turmeric powder – 1 teaspoon
8. Garam masala powder – 3/4 teaspoon
9. Roasted cumin powder – 1 teaspoon
10. Asafoetida powder – 1 teaspoon
11. Sat – as per taste
12. Black salt – 1/2 teaspoon
13. Tamarind pulp – 2 teaspoons
14. Cooking oil – 2 teaspoons
Ingredients of Ragada
Other ingredients of the dish
What you do with what you have:
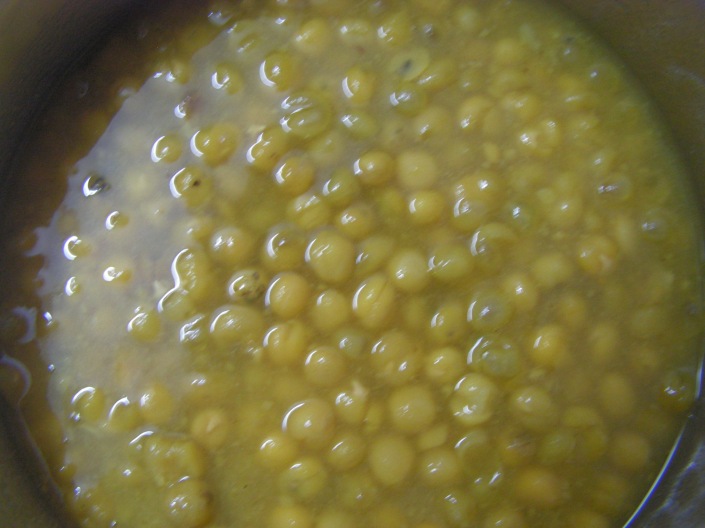
1. Soak peas in water for about 6 hours. Cook it as usual in the cooker till done adding a pinch of turmeric powder and the tea sachet. Let it be a little over cooked. This will turn the dish tastier!!! On cooking do remember to remove the tea sachet!!!
Cooked white peas
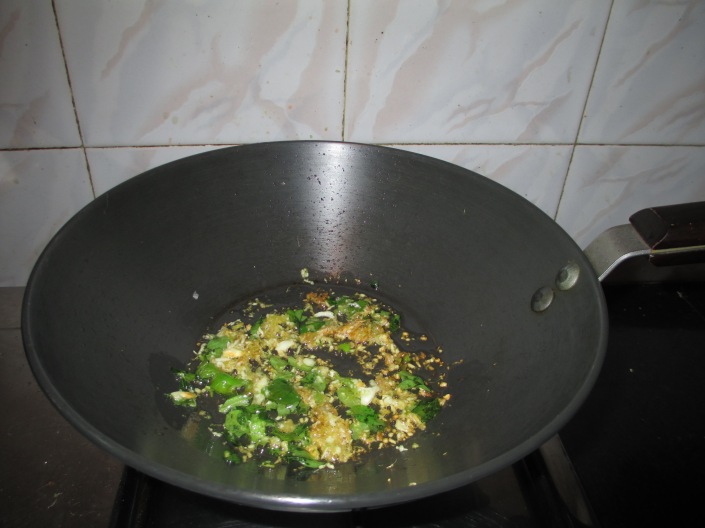
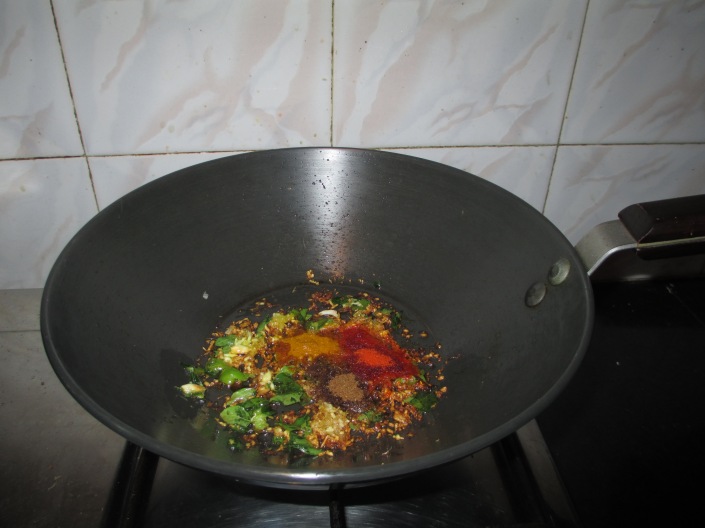
2. Place a skillet with 2 teaspoons of cooking oil in it on medium flame. When heated add Ginger-garlic paste and fry it. When done add chopped green chili and curry leaves and fry till done.
Seasoning in progress
3. Add all the powders in a row to it and immediately add cooked peas to it and give a stir to it.
All the powders being added to the seasoning
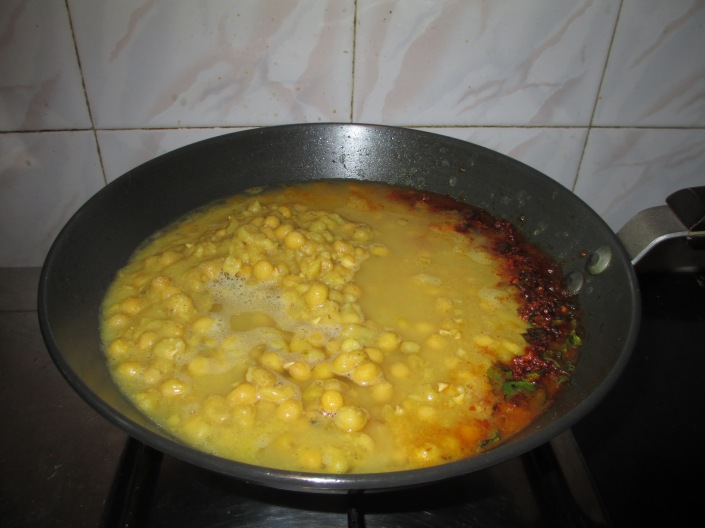
4. Now add cooked peas to it and also add tamarind juice and powdered black salt to it. Check for salt and add required quantity of salt to it. Also add some more water and keep it boiling as when it is boiled it thickens on its own. Hence one can keep the ragda consistency little watery.
Cooked peas being added
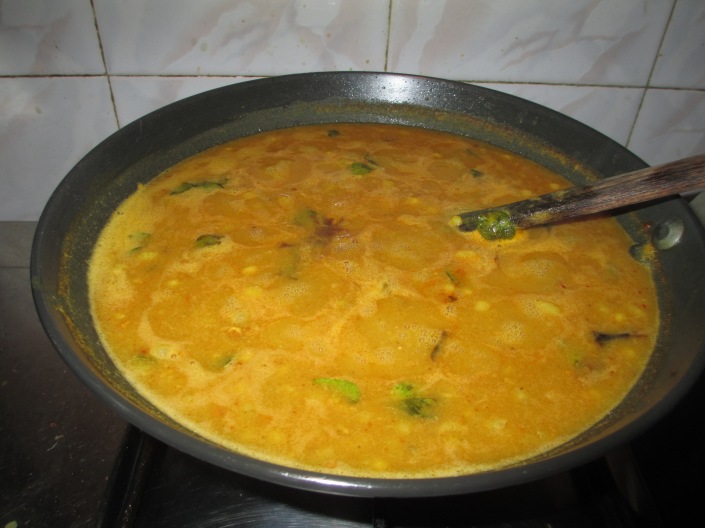
5. Once it is done it is as shown in the image below. Garmish with cilantro and chopped onions.
Ready to serve Ragda dish
By now we should keep the patties ready.
Ingredients of patties:
1. Potatoes -3 big
2. Bread slices – 3-4
3. Red chili powder – 1 teaspoon
4. Turmeric powder – 1/2 teaspoon
5. Garam masala powder – 1/2 teaspoon(home made)
6. Chopped cilantro – 2 tablespoons
7. Salt – as needed
8. Cooking oil – as required for shallow frying
Ingredients of patties
What you do with what you have:
1. Wash, peal and cook potatoes in the cooker till soft. On cooling just grate it and keep it aside. Just chop of the corners of the bread slices and drench it in water and mix it to the grated potato along with chili powder, salt, turmeric powder, garam masala powder and salt. Add chopped cilantro and few drops of lemon juice as well and make small patties and flatten with your palm
Ready to fry patties
2. Place a dosa skillet with 2-3 teaspoons of cooking oil in it on low/medium flame. When starts heating place these patties on it and shallow fry them till done. By flipping fry them on both the sides. Repeat the same process with the left over more too! 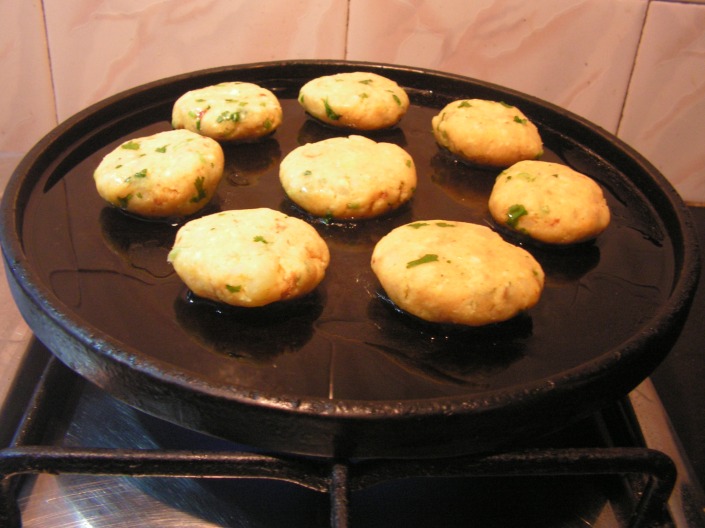
Alu patties being shallow fried
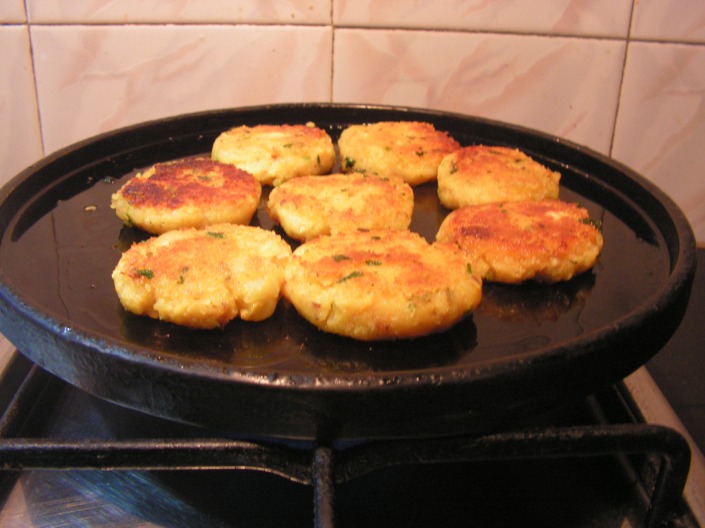 Alu patties being flipped and shallow fried
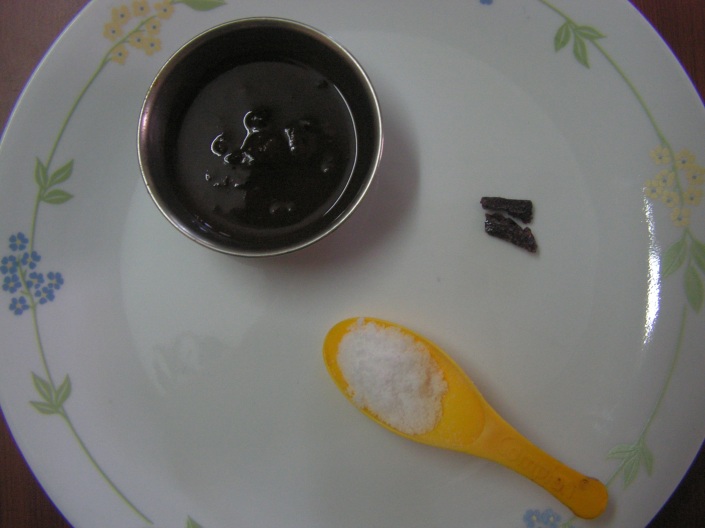
Ingredients of Tamarind chutney(sweet & sour chutney):
1. Tamarind – 1/4 cup
2. Seedless dates – 8-10
3. Grated jaggery – Little more than 1/4 cup
4. Black salt – approx 1 teaspoon
5. Roasted cumin powder – 1/2 teaspoon
6. Red chili powder – 1 teaspoon
7. Salt – to adjust and add
Ingredients of Sweet & sour chutney
What you do with what you have:
1. Soak tamarind, dates, jaggery in a cup of water for about 15 minutes. Bring it to boil adding little more water if needed. Cool it and grind it into a fine paste in the mixer.
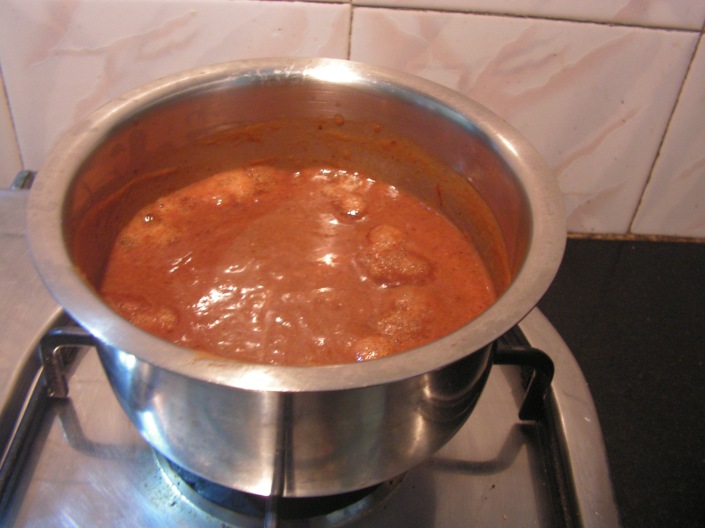
Boiled mix of tamarind, jaggery & dates
3. Add a little water if needed and add roasted cumin powder, chili powder and salt to adjust the taste of the tamarind chutney. ( I have shown the images of both the chutneys further down)
Ingredients of Green chutney :
1. Chopped cilantro – 1 cup
2. Chopped mint leaves – 1/2 cup
3. Green chili – 2-3
4. Ginger 1 piece -1/2 ”
5. Lemon juice – 2 teaspoons
6. Onion -1 (small)
7. Garlic pods – 1-2
8. Roasted cumin powder – 1/2 Teaspoon
9. Sugar – to taste
10. Salt – as per taste
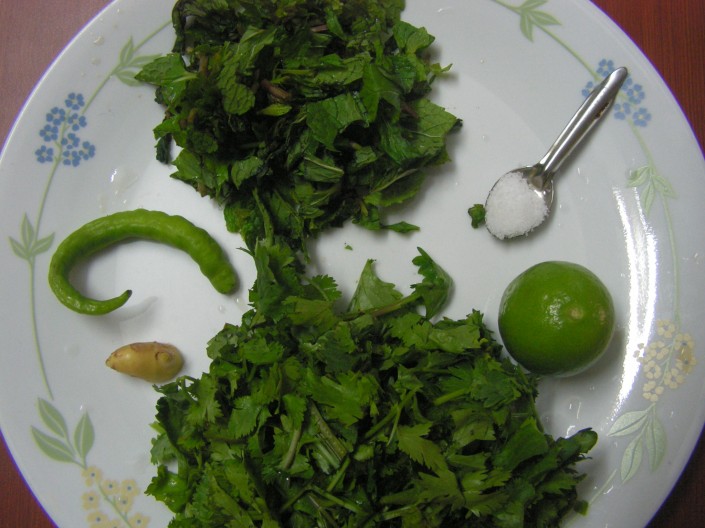
Ingredients of green chutney
What you do with what you have:
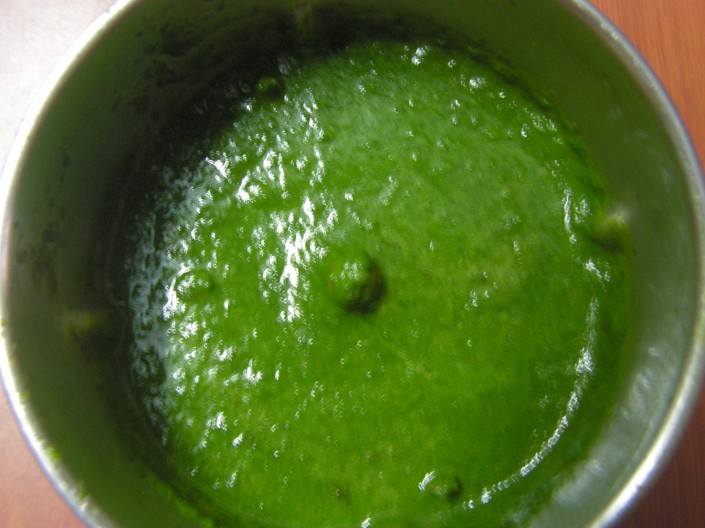
1. Wash and chop cilantro, mint, ginger, green chili, onion, garlic pods, sugar , roasted cumin powder , salt and grind all of them in the mixer adding a little water to a fine consistency. Squeeze lemon juice as well to it.
2. Store the left over chutney in the refrigerator.
Grind green chutney
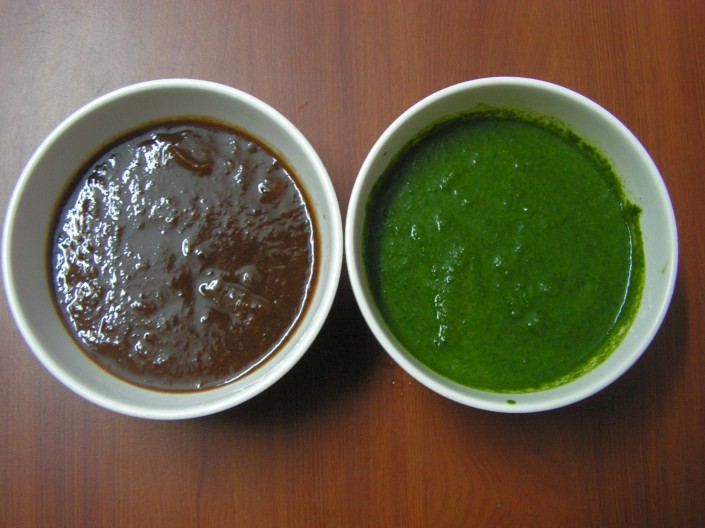
Ready to serve both Tamarind & green chutney
How to arrange:
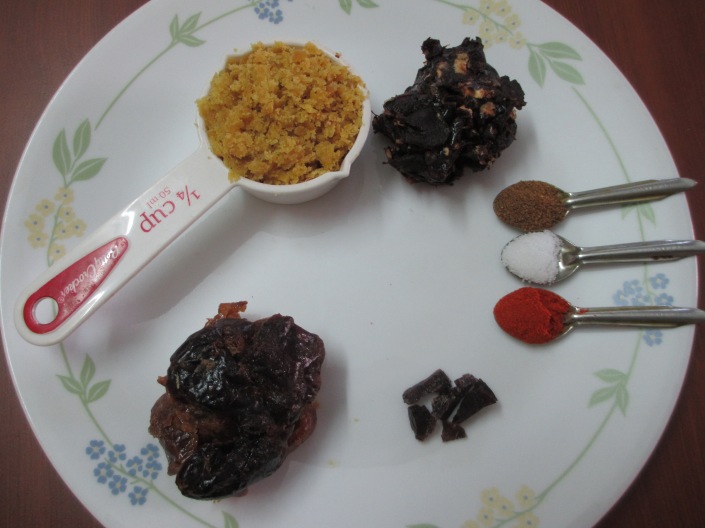
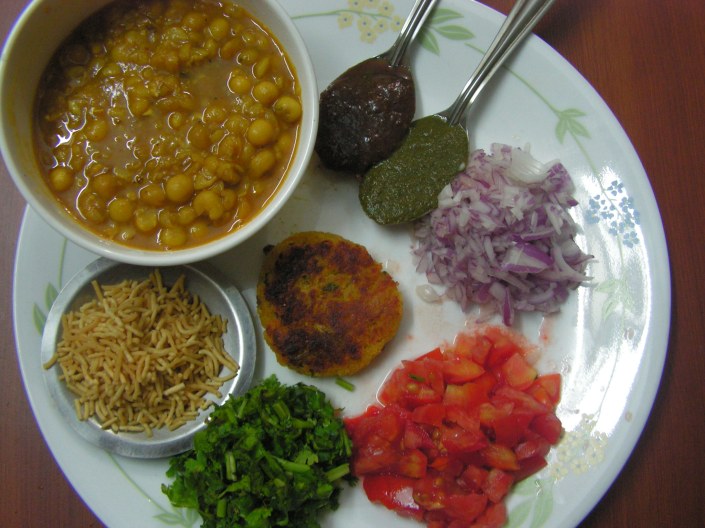
All the prepared items in a plate to be arranged
Ingredients to garnish:
1. Chopped onions – 1 cup
2. Chopped tomatoes – 1 cup
3. Chopped cilantro – 1/2 cup
4. Bhujia sev – around 1 and 1/2 cup(s needed)
What you do with what you have:
1. Beat curd in the mixer along with little sugar till soft. (purely optional)
2. Place one or two patties in a plate and pour hot ragda over it.
3. Garnish with chopped onions, tomato, and cilantro.
4. Splash both tamarind and green chutney and sprinkle roasted cumin powder over it.
5. Finally sprinkle bhujia Sev over it and add whatever required as per taste.
1. Cook white peas till soft for extra flavor.
2. Onions in seasoning is optional, so is curd.
3. I normally use home made sev but here it is Haldirams!!!
Khaman dhokla
Ready to serve Kaman dhokla with sauce & chutney
Time taken _30 minutes
Serves 3-4
Kaman dhokla is one of the favorite street food of north indian people and is also my favorite dish. Whenever i visit my sister’s place in Bombay i make it a point to make a party with these lovely dishes like the “Khandvi” and “Kaman dhokla”. I have already put up “Khandvi” on this blog and I tried “Khaman dhokla” a couple of times and it turned out great and i was curious to share it with my viewers. I have already put up “Dhokla” (gujrati) on this blog about 6 years back and also “Suji dhokla” and now “Kaman dhokla” being the third one to add to the list. Here is my version of Kaman dhokla today!!!
What you need to have:
1. Besan (chick pea atta – 1 cup
2. Water – 1/2 cup(only)
3. Curds -1/2 cup(thick)
4. Green chili- 1 and 1/2 (if not spicy else only 1 will do)
5. Ginger – 1″ piece
6. Sugar – 1 teaspoon
7. Lemon juice – 1 teaspoon
8. Turmeric powder – a pinch
9. Asafoetida powder – a pinch
10. Cooking oil (raw) – 1 tablespoon
11.Eno fruit salt sachet – 1 (1 and 1/4 teaspoon)
12. Salt – as per taste
Chickpea atta & curds
Other ingredients of garnishing of the dish
Ingredients of Seasoning & Garnishing:
1. Mustard seeds – 1/2 teaspoon
2. Cumin seeds – 1/2 teaspoon
3. Sesame seeds – 1 teaspoon
4. Asafoetida powder – 1/2 teaspoon
5. Turmeric powder – 1/4 teaspoon
7. Red chili pieces – 2-3
8. Curry leaves – 1 sprig
9. Cooking oil – 1 and 1/2 teaspoon
Ingredients of Garnishing:
1. Fresh grated coconut – A handful
2. Chopped cilantro – A handful
3. Red chili powder – 1/2 teaspoon 
Ingredients of Seasoning & Garnishing
What you do with what you have:
1. Sieve chickpea atta in the sieve and keep it aside. Also beat curds in the mixer along with the mentioned quantity of water and transfer it to a bowl. Slowly add chickpea atta to it and mix it in such a way that there are absolutely no lumps.
Chickpea atta being added to beaten curds
2. Wash and peal ginger and grate it , also grate green chili , grate coconut, wash and chop cilantro and keep it aside as shown in image-2.
3. Add all the ingredients namely green chili- ginger paste , sugar, salt, cooking oil, lemon juice, a pinch of turmeric powder, a pinch of asafoetida powder, and the mix is as shown in the image below.
4. Place a wide bowl containing water and bring it to boil. Place a ring in it.
5. Greece a cooker separator with a little oil and pour the ready dough in it. Add Eno salt sachet to it and mix well. On adding this fruit salt the dough will come up and is as shown in the image below.
Kaman dhokla dough on adding eno salt
6. Place the container into the broad bowl and close it with the lid covered with a cotton cloth as shown in the image , so that the vapors do not fall over the dish and the dish is cooked in 8 minutes.
Kaman dhokla being steamed
7. Just insert a knife or a back of a spoon to check if cooked. Cool it for a while and reverse it on a plate and sprinkle a pinch or two of red chili powder and immediately cut it with the knife to required shape and garnish it with coconut and chopped cilantro.
Stemed kaman dhokla being garnished with cilantro & coconut
8. Place a spatula with 1 and 1/2 teaspoons of cooking oil in it on low/medium flame. On being heated add mustard seeds to it. When it starts spluttering add cumin seeds, asafoetida powder, sesame seeds, turmeric powder, red chili pieces, and finally Curry leaves. When done switch of the flame and season it to the steamed dhokla.
Kaman dhokla being seasoned
9. Serve with tomato sauce and pudina chutney. yummmmmmmmm!!!!!
Kaman dhokla with sauce & pudina chutney
Time taken : 30 minutes
Serves -3-4
Note: 1. Water should not be added in excess of the mentioned quantity . The reason being it till make the dhokla turn soggy and tasteless.
2. I have not added soda to the dough in addition to eno salt, since the texture was fine with only eno fruit salt. One can make out from the picture too.
3. Always use fresh chickpea atta and also fresh eno fruit salt for better results.
4. Eno should be added only after the water in the steaming bowl is boiling and immediately steamed.
5. Steaming process is complete in maximum 7-8 minutes. Else it means that the dhokla mix is not properly done.
Onion Pakoras (onion fritters)

How many Pakoras : around 20 of above size
How long it takes: 45 minutes in all
I am not going to introduce this dish. Onion as a garnish does wonders to a typical dish. This dish is essentially onion. This was the most common street-food from my college days – Onion Bhajhi/Neeruli bajhe(in kannada) and the Bengalgram Dal Vada can never be forgotten. Today I would like to put up this onion bhaji which I prepared on a freezing winter evening here in New York City. Here it is:
What you need to have:
1. Chopped onions – 4 cups
2. Besan atta – 1/2 cup (approx)
3. Rice atta – 2 tablespoons (approx)
4. Chili powder – 1 teaspoon
5. Turmeric powder – 1 teaspoon
6. Asafoetida powder – 1 teaspoon
7. Green chili -2
8. Cumin seeds – 1 teaspoon
9. Cilantro chopped – a handful
10. Salt – as needed
11. Cooking oil -2 teaspoon
12. Cooking oil to fry- 2 cups (approx)
Ingredients of onion bhajhi
What you do with what you have:
1. Wash, peel and chop onions lengthwise and keep it aside. 
Onions chopped lengthwise
2. Just mix salt to the chopped onions and all other ingredients like the chili powder, turmeric powder, asafoetida powder, chopped green chili, cumin seeds and mix well so that it releases a little moisture to add atta later on. 
All powders and salt added to onions
3. Add both rice atta and mix it well. Later on add besan atta in steps mixing it every now and then to get to the required just droping consistency. Do not add water at all and on adding salt whatever moisture releases would be sufficient enough to mix both the atta. This will turn the bhajhi crispy!!!
Onion bhajhi consistency
4. Place a skillet with 1.5 cups of cooking oil in it on the medium flame. On heating just drop onion bhajhi in it and fry till brown and crispy. Flip and fry on both the sides till crispy and brown. Place it in a colander with tissue paper to get rid of extra oil if any. 
Onion bhajhi being fried in oil
5. Enjoy it with a cup of tea or coffee. Yum !
A closer view of the dish
Good to remember:
1. Onions should be chopped lengthwise to get the proper shape for the dish.
2. Do not even sprinkle water since the dish will turn soggy.
3. Fry till it turns crispy and brown.
Beetroot cutlet
Beetroot a colourful veggie when added to any dish gives an awesome colour, even if the taste may get overshadowed by other ingredients. I have put up a few dishes like the Beeetroot rice, Sasam, Beetroot Salad, Beetroot Halwa and here comes the cutlet to add to the long list of cutlets on this blog. Of course, talking of cutlets, this blog has hosted a few others – vermicelli cutlet, corn cutlet, drumstick blossoms cutlet and the classic veg cutlet on this blog. This was a request recipe.
What you need to have:
1. Grated beetroot – 4 cups
2. Mashed potato – 1 cup
3. Green peas – 1 cup  Ingredients of Beetroot cutlet
Seasoning Ingredients:
1. Cumin seeds – 1 teaspoon
2. Chopped onions – 1 cup
3. Chopped green chily – 1 and 1/2 teaspoon
4. Galic paste – 1 teaspoon
5. Garam masala – 1 teaspoon (home made)
6. Lemon juice – 1 teaspoon
7. Chopped cilantro – a handful
8. Salt – As per taste
9. Cooking oil – 1 Tablespoon
10. Cooking oil to shallow fry the cutlets – as required  Other ingredients of seasoning & Garnishing
What you do with what you have:
1. Wash, wipe and peal beetroot with a kitchen towel and grate it fine. Wash and peel potatoes and cook it in the cooker till smooth, just crush green peas in the mixer and keep it aside.
2. Wash, peal and chop onion fine, chop green chily, cilantro fine and peel garlic and ginger and keep aside.
3. Place a skillet with 1 tablespoon of cooking oil in on low/medium flame and on heating add cum in seeds to it and allow it to splutter. When done add chopped onions and required quantity of salt to the dish and keep stirring. When it turns transparent add chopped green chily, ginger-garlic paste, garam masala powder and add grated beetroot to it and close it with a lid on low flame. When grated beetroot is cooked add crushed green peas and mashed potatoes to it and allow it to cool for a while.  Mashed potatoes, crushed green peas being added
4. When done finally add lemon juice and chopped cilantro and mix well to form a paliable mixture.
5. When cooled either make round balls or oval shaped .  Cutlets being shaped into oval shape
6. Dust them in bread crumbs and keep it aside.  Cutlets being dusted in bread crumbs
7. Place a skillet with 2 teaspoons of cooking oil in it and on heating place the cutllets o it and fry it till done on low/medium flame. When done flip and fry it on the reverse till it is brown and crispy. Make sure you do not burn it as the colour of the cutlet is also reddish be careful to see that you fry it carefully.
 Dusted cutlets being shallow fried
 Cutlets being fried on the reverse
 Ready to serve Beet cutlet with tomato sauce
8. Enjoy with either tomato sauce or even green mint chutney. Yum!!!!!!!!!!
Good to remember:
1. By grating beet and cooking later with onions one can get rid of the moisture in it easily.
2. Dusting in either rusk powder or bread crumbs will bind the cutlets to shallow fry them too.
3. I prefer to shallow fry cutlets than deep fry to minimize oil intake. Shallow frying is particularly recommended if the mix is refrigerated.


